One of my sons friends asked me if I could take a look at his speakers which had stopped working. he and my son had been mixing some songs using a pair of M-AUDIO BX5a monitors. These are bi-amped active speakers, with Pro audio style inputs (XLR and 1/4" mono jack). They each have two integral amplifiers so only need a line or balanced input. Each speaker also has a mains power input and a volume control, and a blue LED on the front to indicate power. The speakers have two drivers, a small domed tweeter and a small 5" Kevlar woofer. One had developed a loud buzz, coupled with a very loud 'thump' sound when powered off. The other had completely lost all bass output.
The speakers were only 13 months old, which seemed a very short life for a pair of speakers - I have speakers made in the 60's that are still going strong. However with additional electronics in these BX5a's I'm not really comparing like with like.These speakers are self contained audio systems. All you'd need is a source like an iPod or CD player and you'd have a pretty decent stereo system. They are primarily aimed at pro audio monitoring use and retail for around £200. They are also very well reviewed on the web. I was also intrigued by the name. My own main speakers are a pair of Goodmans BBC LS3/5a speakers - something of a legend among small monitors. I thought the naming of the BX5a was perhaps a nod to these classics.
My first advice was to see if the shop he bought them from would be prepared to fix them as they were not that old. They would only fix for free when the speakers were within warranty, which these were not. Oh well ....I googled the speakers and some of the symptoms and pretty soon found dozens of hits on the buzzing problem, with the loud thump on power off . Again and again people 's BX5a had developed loud buzzes through both tweeter and woofer. It seemed that the speakers had fallen victim to a more widespread problem of poor quality capacitors. This problem has been the scourge of the IT Industry too, I have had a Dell Optiplex fail the same way. I understand that Apple Time machines have had problems with caps leaking/exploding too. Possibly it's due to the caps being a faulty batch or the temperature upper limit being exceeded and prematurely ageing them.
The power supply in the speakers uses a couple of 6800uF 25v caps to smooth the output from the 4 diodes making up the bridge. NOTE : the switched mode supply, ubiquitous in every other aspect would be too electrically noisy for these applications. Here we have good old linear supplies with diodes, and smoothing caps.These two caps appear to have a common problem where they leak. The top of the cap appearing to bulge, and in some cases electrolyte oozing out.
These symptoms certainly seemed like one of these speakers , so I offered to replace the caps . I figured it was within my capability.
I should state at this point, that this is quite a hard repair to carry out. Some forums imply this is easy, but it took me around 90 minutes to do the first speaker, and 60 to do the second. You have to substantially dismantle the speaker and remove two caps which are soldered and glued in position. There are a lot of steps along the way.
I looked on-line at caps and in the end RS Components did suitable caps 6800uF 25v . In addition other important values are temperature (105 degrees) diameter (18mm) and lead pitch (gap between the leads - 7.5mm). The Cap length is not so important but you need to get all the other parameters the same. RS and Farnell have thousands of caps, but by the time you specify all these constraints, you are down to one or two , I went for these Nichicon caps.
RS states that the caps come in packs of 2 , so I ordered a total quantity of 2, assuming this would equate to 2 packs of 2, meaning 4 caps. I had decided that while the second speakers problem was different, it was worth replacing the smoothing caps in both. It might fix the other problem, and I reasoned that it looked like this might become a problem in the second speaker at some point anyway. The package arrived 2 days later but only included 2 caps. I think I had been confused by he quantity Vs the fact that 2 came in a single packet. Anyway I ordered a second batch and set to work on the speaker with the buzz. When dismantling these speakers you will need :
- a tray to keep all the screws in
- a medium sized Philips screw driver
- a No. 3 metric Allen key


I put a towel down on the table and laid the speakers face down. The front does not have a protective grille, but the drivers are recessed enough into the bezel that they don't protrude and laying them on their front is fine . 10 Philips screws hold the back panel in place and I carefully removed these, cupping my spare hand around the Philips screw driver point, so as not to slip and scratch the cabinets. This is more important later when removing the bass driver. It's very easy to stick a screw driver through a speaker cone if you are not careful - I have done this before and it's easy to avoid with care. Once all the crews were removed, the back is loose, but I soon realised that the cables inside connecting with the drivers on the front , were too short for me to gain access to the amp Cables ties had been used to gather up any slack, so I couldn't get the back panels with attached amps clear via the back.
I turned the speaker over, laying it carefully on it's back. the towel is important as the volume knob on the back protrudes, so laying the speaker on something a bit soft will save your tabletop and the speaker volume pot.the front bezel is held on with a No. 3 Allen key headed screws. At first this seems frustrating but actually is a smart idea. It means you can apply pressure in a plane across the speakers, not toward them (as with conventional screws). I still cupped one hand over each driver, while removing the Allen screws with the key in the other hand.
Once they are removed you can lift the bezel. The bass drivers are not attached to it, they are still screwed to the front of the cabinet. However the tweeter is attached to the bezel. You will need to disconnect the speaker wires from the tweeter to free it. The wires are coloured black and white and have identical sized pushed connectors. I photographed the tweeter at this point so I'd remember the tweeter polarity.
 You can pull the speaker wires from the tweeter but take not of the polarity or better still take a picture. Once the tweeter is disconnected you can take the bezel and tweeter and place safely to one side. You then need to remove the woofer. This is held to the speaker cabinet by 4 Philips screws. Again, cup one hand over the driver while you carefully remove the 4 screws. It' very easy to slip and pierce the driver with a screw driver - I know, I have done it before, and kicked myself for my stupidity.
Once you remove the bass driver you do not need to take note of the polarity as the push connectors are a different size for positive and negative.

Once you have disconnected the woofer, place it safely to one side.
You will find you still cannot remove the backplate as the LED which indicates power is fastened to the front of the speaker. The cable slack has been wound with the excess speaker cable using a cable tie. I carefully cut the cable tie, releasing enough slack cable to allow the amplifier module to be removed from the speaker while leaving the BLUE LED cable in place.
 Once the amplifier module was out I could see that the smoothing caps were failing as predicted.
You can clearly see the electrolyte oozing out of one of the smoothing caps.
To replace the caps you will need a de-solder pump , a soldering iron and a craft knife.
However before you can gain access to the back of the board there is a metal plate which has to be removed. You can see the plate in the picture below. It's held on by a couple of screws on the right hand side, which also hold two earthing wires in place. These screws have been secured with green enamel paint or possibly nail varnish, which I had to chip away to access the screw heads. On the left a cable tie through a hole secures the plate.


I removed the screws on the right hand side and cut the cable tie on the left. The plate is further secured to the back of the circuit board with an adhesive strip. With gentle pressure the plate slowly came away. This gave me access to the back of the capacitors. I took a picture to remind me of the polarity of the cap leads (negative -ve and positive +ve). You can see below how bad one of the caps appears. The sticky electrolyte has got some of the speaker acrylic wool stuck to it, making it appear hairy !

I heated the solder pads on the reverse side of the board where the capacitor leads passed through. I used the solder sucker to remove as much solder as possible. I then carefully cut with the sharp craft knife around the base of each cap to cut through the glue which has been used to further secure the cap to the board. This is a slow and delicate operation, hence my comment earlier about this being a difficult fix. You don't want to damage the surrounding components nor flex the board. It's possible to raise the copper tracks from the board if you apply excessive heat or try removing the solder too many times.
I did more de-soldering until I could bend the remaining length of lead up, allowing the cap to be slid out from beneath . Eventually each capacitor slowly loosened and I could gently pull them away. I further de-soldered the remaining holes and trimmed as much yellow glue from where the caps had been. It was then a case of inserting the new caps, checking the leads were correct. (Negative lead has a white strip down that side of the can ), re-soldering them and cutting the spare from the protruding leads.
If you chose the right value of capacitor ( 6800uF, 25v, 105 degrees, 7.5mm lead pitch, 18mm diameter) you should find that they fit perfectly, though might be a little taller, but there is plenty of space.
Once fitted I carefully reversed the process, fitting the plate back and applying a new cable tie through the corner hole. Fitted the rear panel in the box and then the bass speaker, finally the bezel. Always remember to use one hand to protect the drivers - that treble unit has a strong magnet in it and a wondering screw driver will be strongly attracted to the soft dome if you are not careful.
I repeated this entire sequence on the second speaker, thinking that it a) might solve the other problem (loss of bass) and b) is probably a good thing to do. While the capacitors were not in as bad condition, there was a distinct doming of the ends. I also checked the continuity of the two fuses on the amplifier board. Both were fine.
Powering up each speaker revealed no buzzing, the LED still came on and no big 'thump' noise on power off. Placing my ear next to each driver revealed a small amount of background hiss from each treble unit and a tiny amount of background hum from the bass, but this seemed normal to me. Unfortunately I have no interconnect cables to test the speakers with to hand, so returned them to there owner with the advice that he try them ASAP.
Well the good news was that the speaker that had buzzed, now worked perfectly. However the speaker that had no bass .............still had no bass.
I realised at this point that I had omitted to do the single simple test which would have saved me the following rework . I should have tested to bass speakers continuity while I had the driver out i.e tested that there was a circuit between the positive and negative terminals on the back of the disconnected speaker. An open circuit /no circuit would have indicated the speaker had failed internally, as it now appeared it had. Of course it could be other problems with the power amplifier ?
The offending speaker was returned to me. I had also found a cable I could use to test with an RCA plug on one end, and a 1\4" stereo jack at the other. The BX5a needs a mono 1/4" jack , but I knew it should work if I slightly remove the jack so that the internal contact touched either the left of right band on the jack. This was a mono cable, so both were wired to the signal in a single RCA.
I repeated the steps above as far as removing the bass driver, and tested it for continuity. No circuit ! This was good in so far that had the driver blown completely it was a relatively easy procedure to order and drop in a new driver.
I wanted to double confirm the speaker was not functional , so wired it up to one channel of a small desktop Sonic Impact T-amp I had. I turned the volume to quite low and played some music. Without a cross over the sound would be bass heavy, but I figured it should produce some sound.
Nothing, as the continuity test had predicted.
I sat down and started web surfing to see get a cost for a replacement bass driver. The M-AUDIO website was not very helpful here. I could find no links for spare parts.
I stared at the driver and , without much thought double checked the continuity again. My trusty TANDY/Radio Shack digital meter has a simple beep continuity mode, where it beeps if it sees a circuit. I tried the positive and negative terminals again. No change.
Then I tried the wires that lead to the terminals from the centre of the speaker voice coils - short lengths of silver wire.
BINGO !
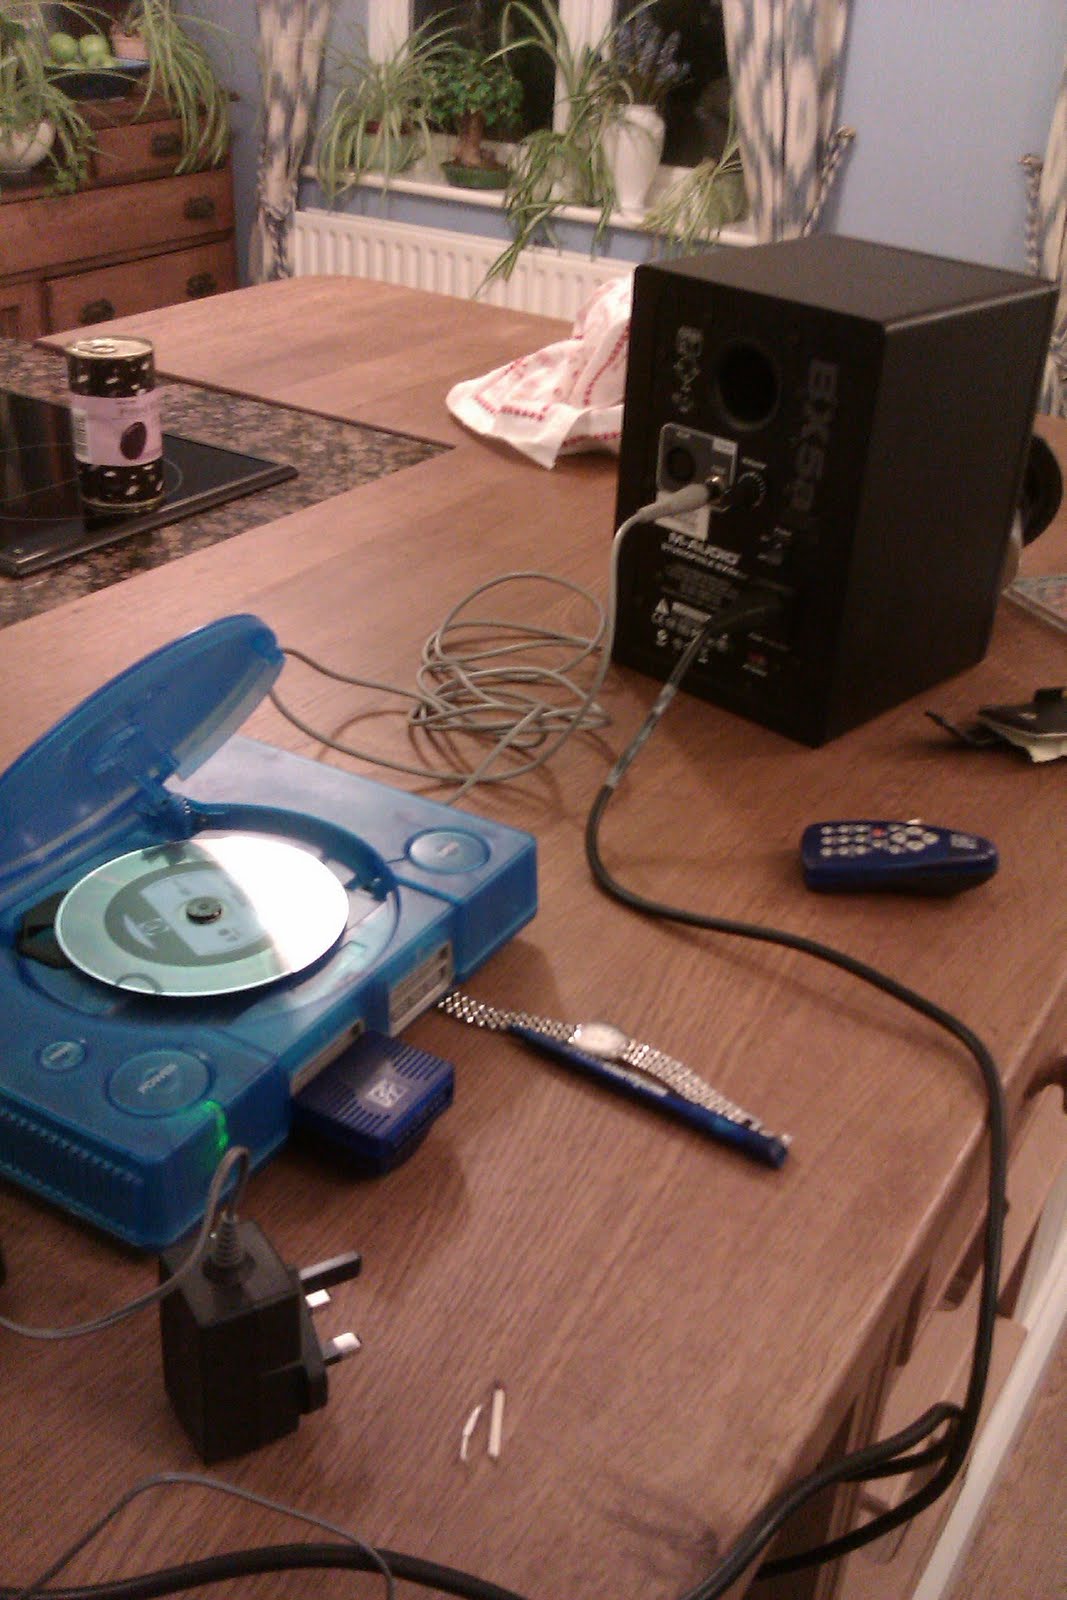
We had continuity. Further tests showed that the negative terminal of the bass speaker was open circuit. It looked OK, but it appeared that the solder joint was not good. I de-soldered it and resoldered it, and the speaker was fine. I put the second speaker back, after testing it quickly outside the cabinet with my CD player (A Sony Playstation 1), my RCA to stereo 1/4" jack plug and a much loved copy of "The Kinks are the Village Green Preservation Society".
Worked fine so put the speaker back together again. Job done.

A final puzzle.
It's impossible to connect the bass drivers incorrectly as the spade connectors are different sizes for positive and negative, red and black. However the connectors on the tweeter are the same size.
I noticed that the tweeter connections are mirrored. Rather than both tweeters being connected the same way (black left , white right connector), the arrangement is inverted in the second speaker. I'm not sure about this. I don't know too much about this tweeter but would assume, that like the bass driver, both speakers should be wired identically to preserve absolute phase ?
Here is one speaker, with the bezel disconnected, photographed from the top:

Here is the other speaker, with the bezel disconnected, photographed again from the top:

I guess if the treble sounds a bit odd, you might want to check if your treble units are wired in phase or out of phase with each other ? I think they should both be in phase, both with each other and with the bass drivers, though how you tell is unclear as neither tweeter connection tabs were labelled.
No comments:
Post a Comment